Watercolor Plein Air Setup (for beginners)
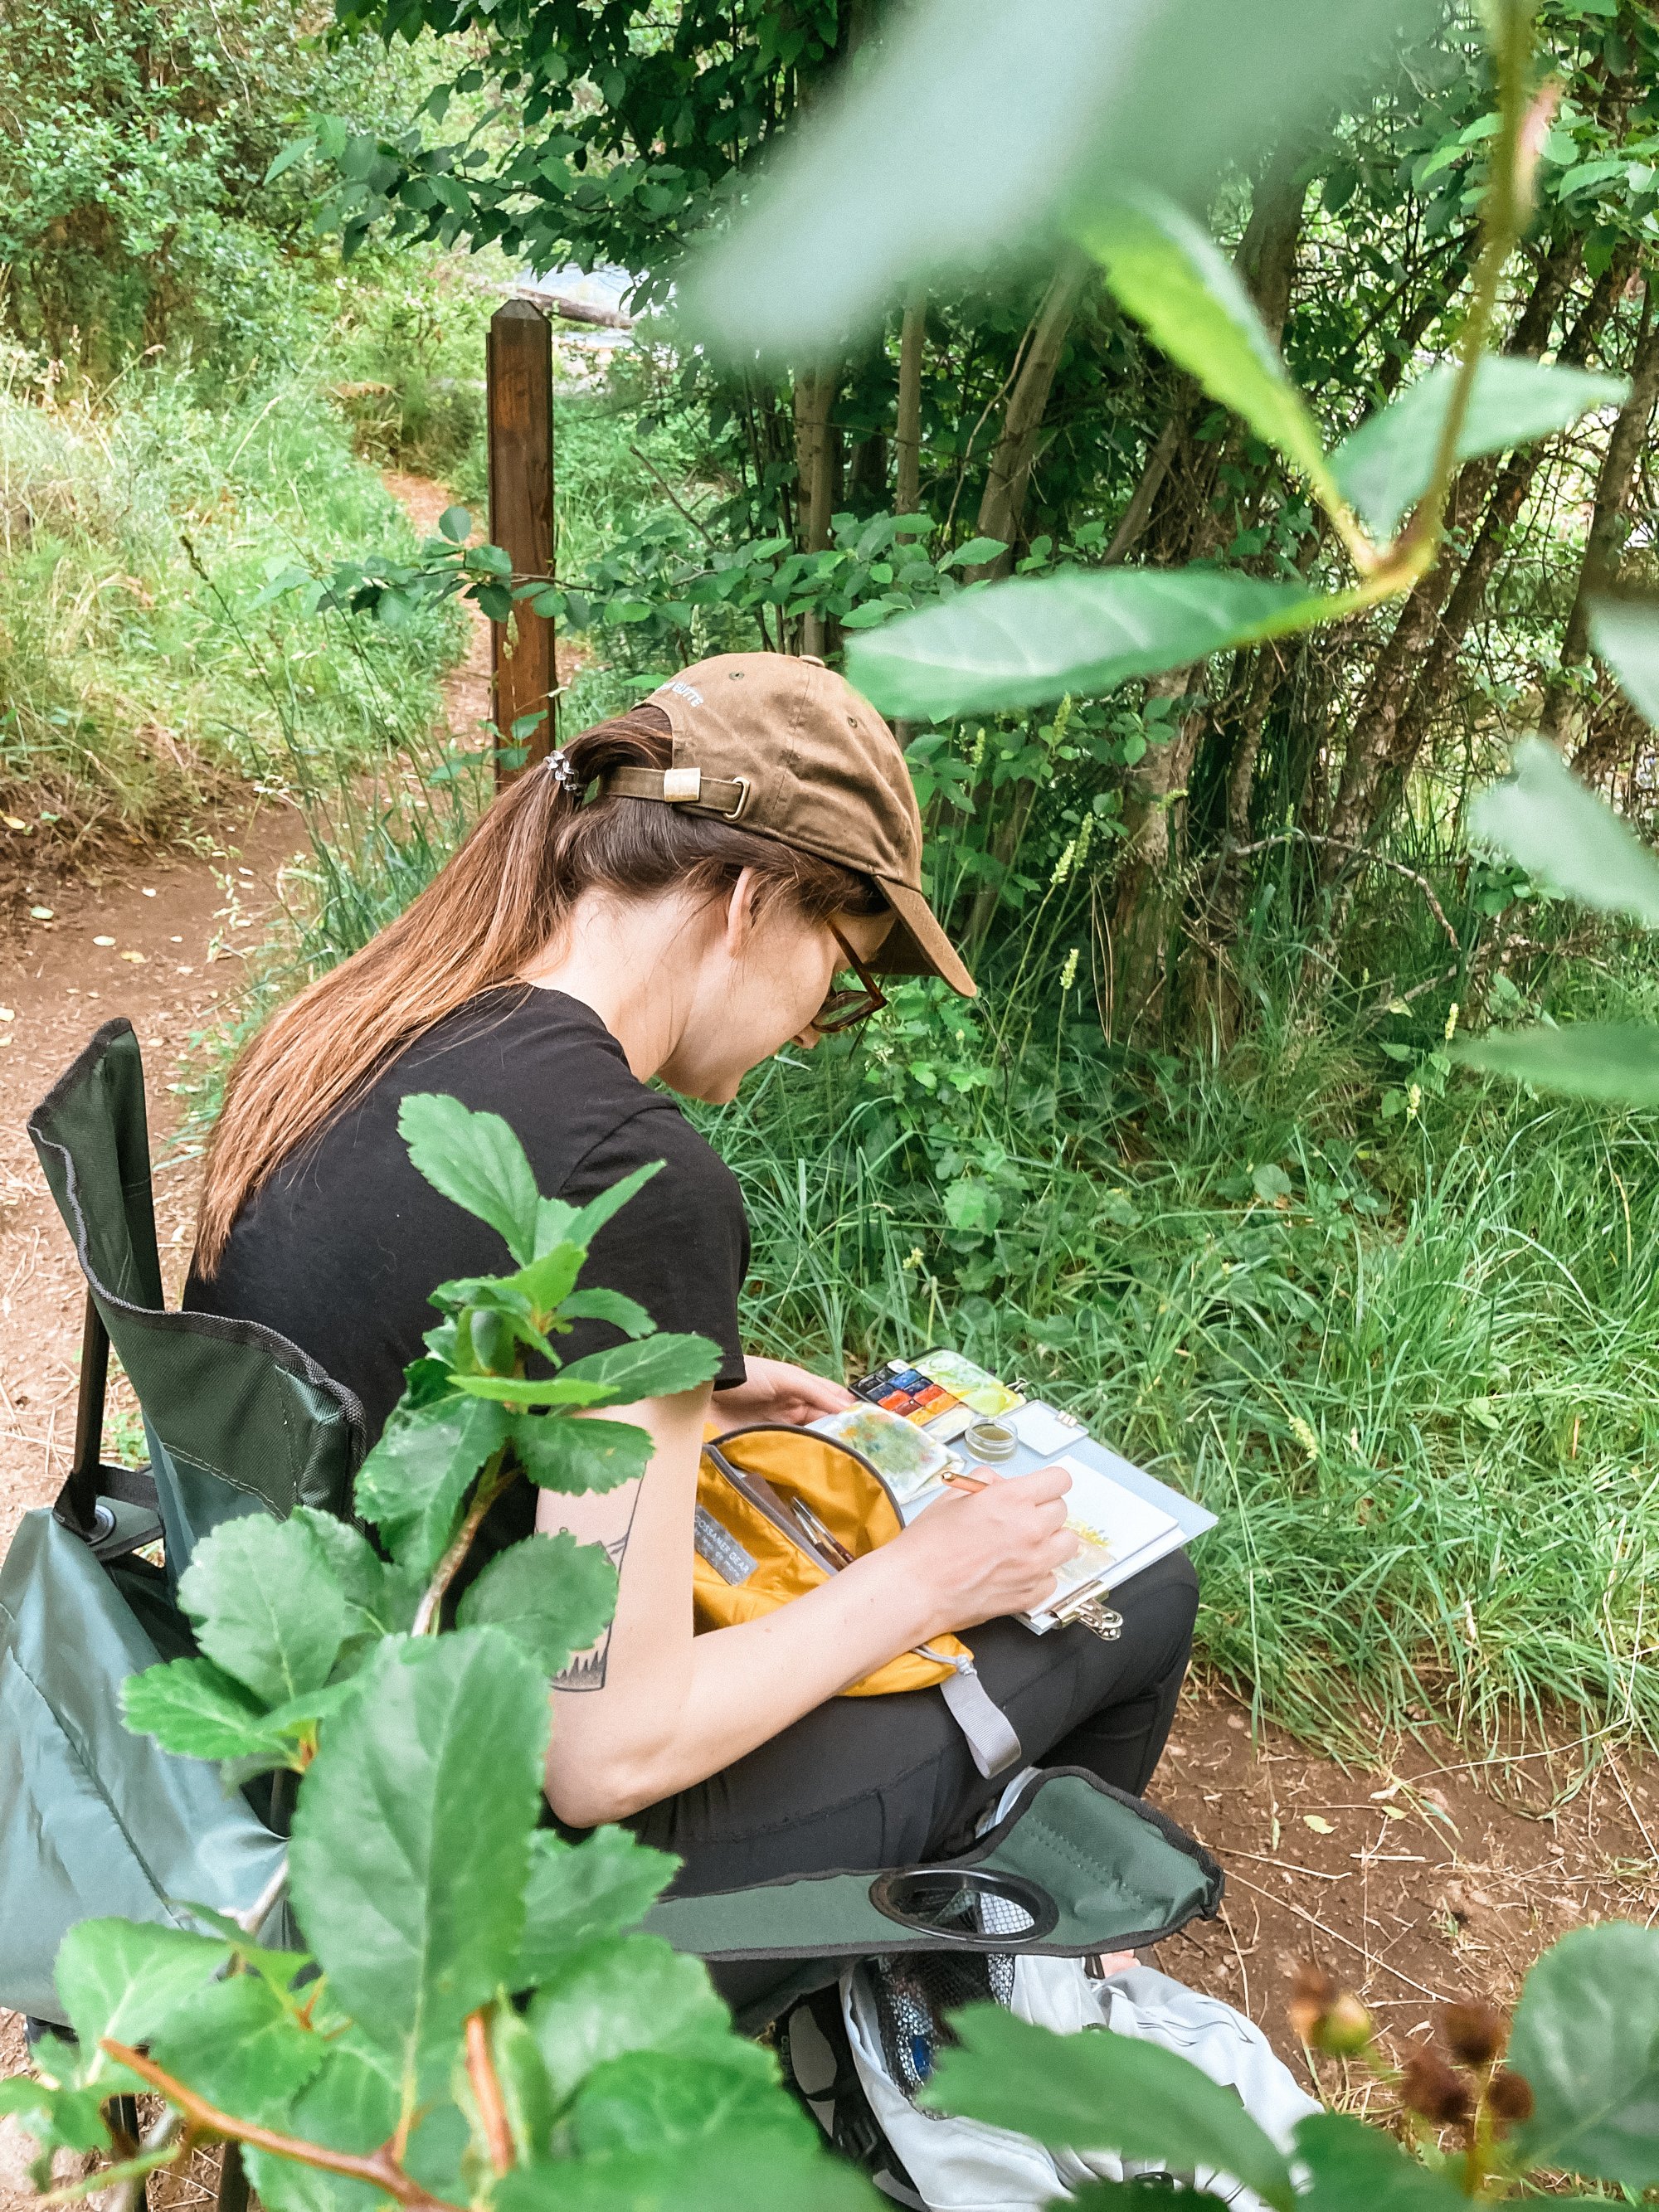
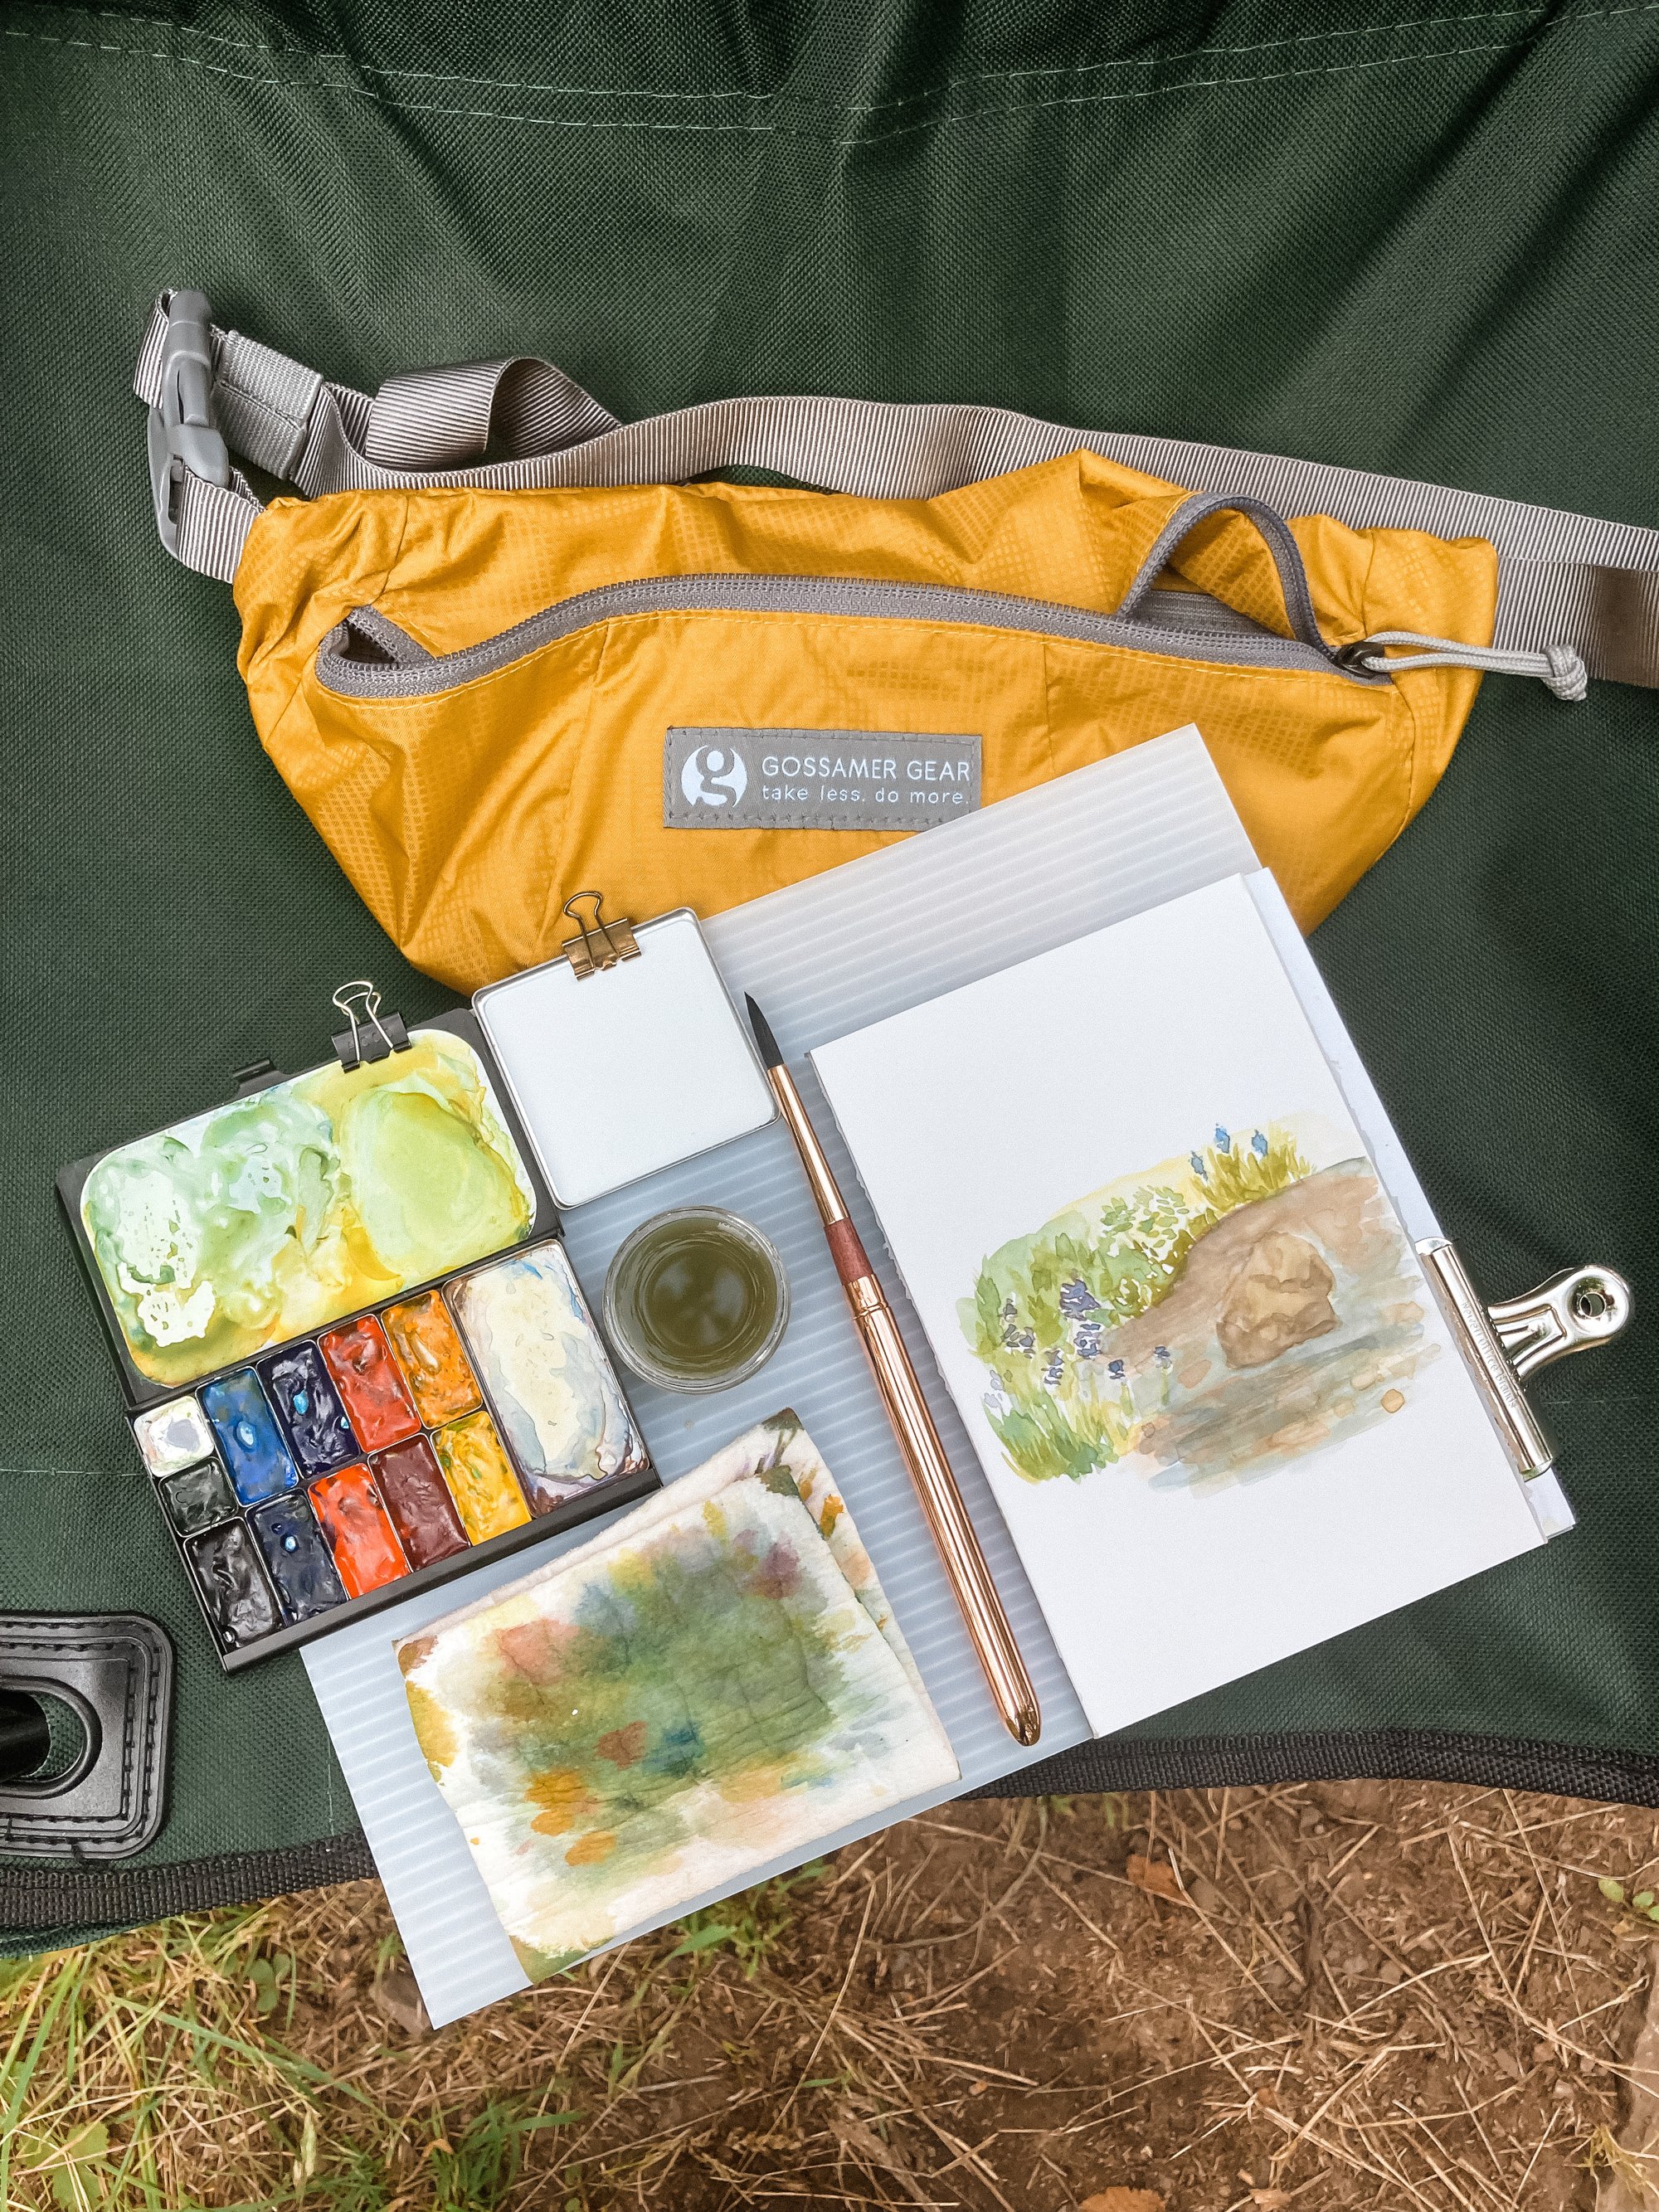
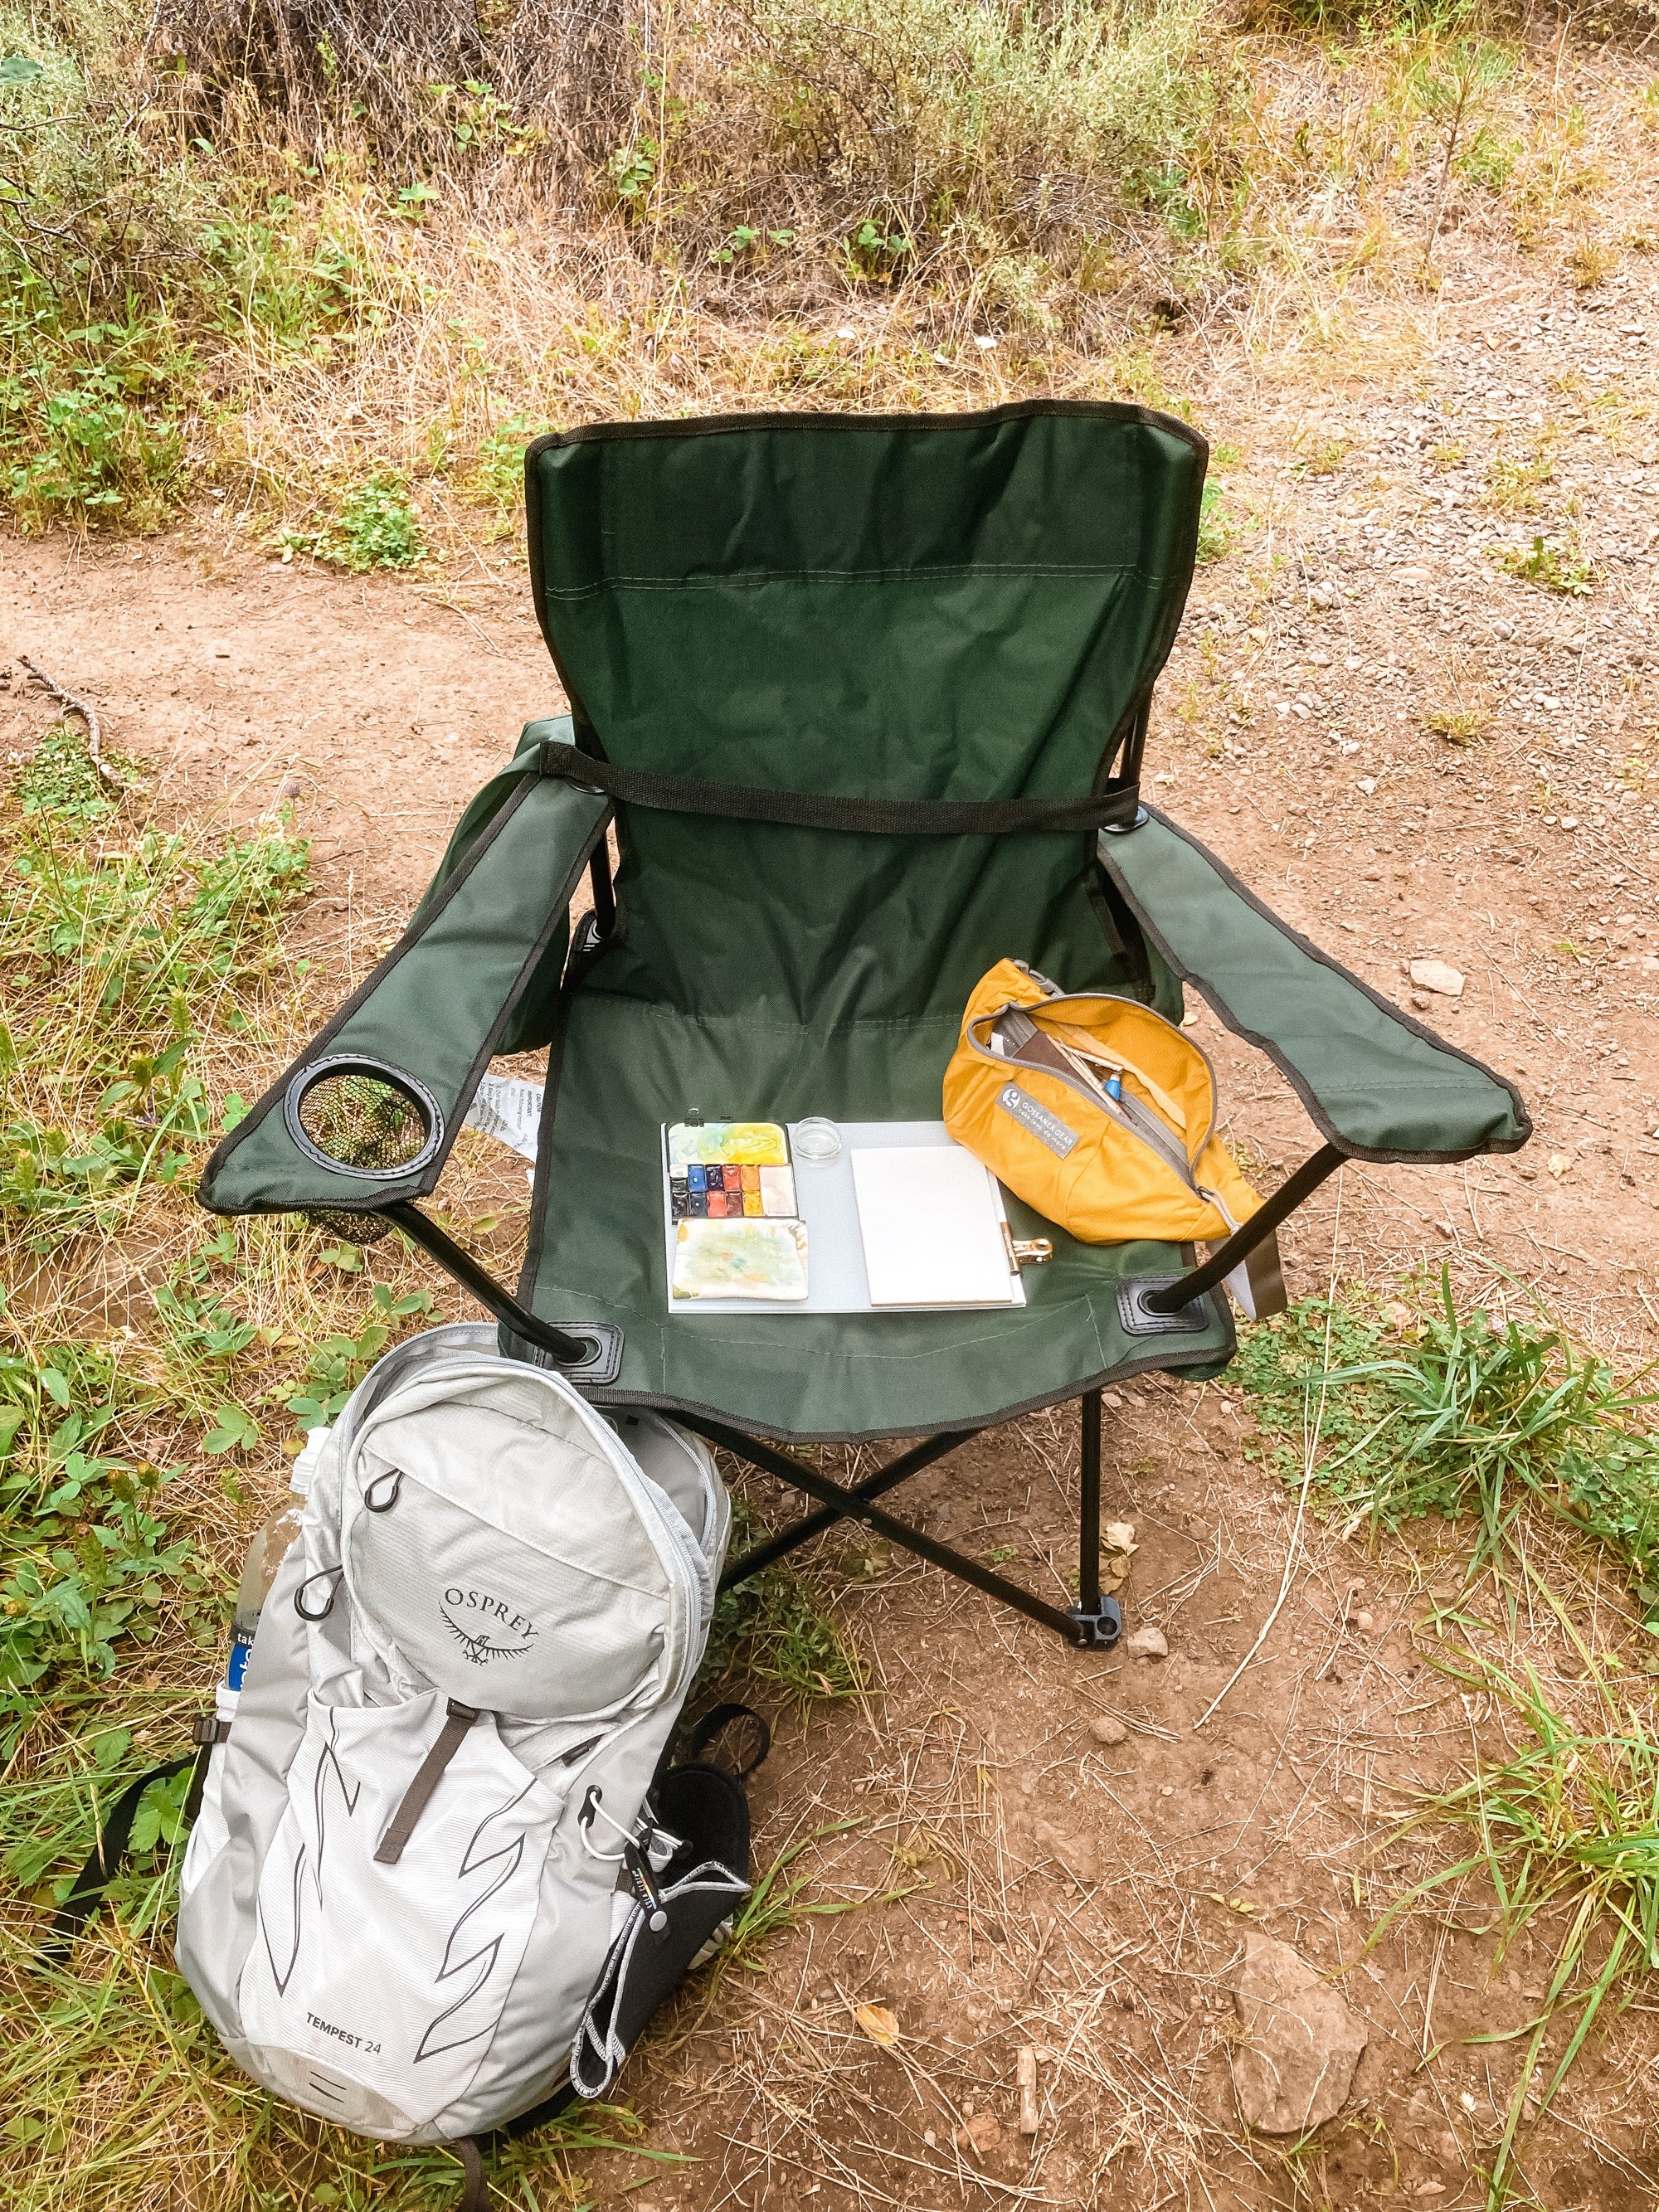
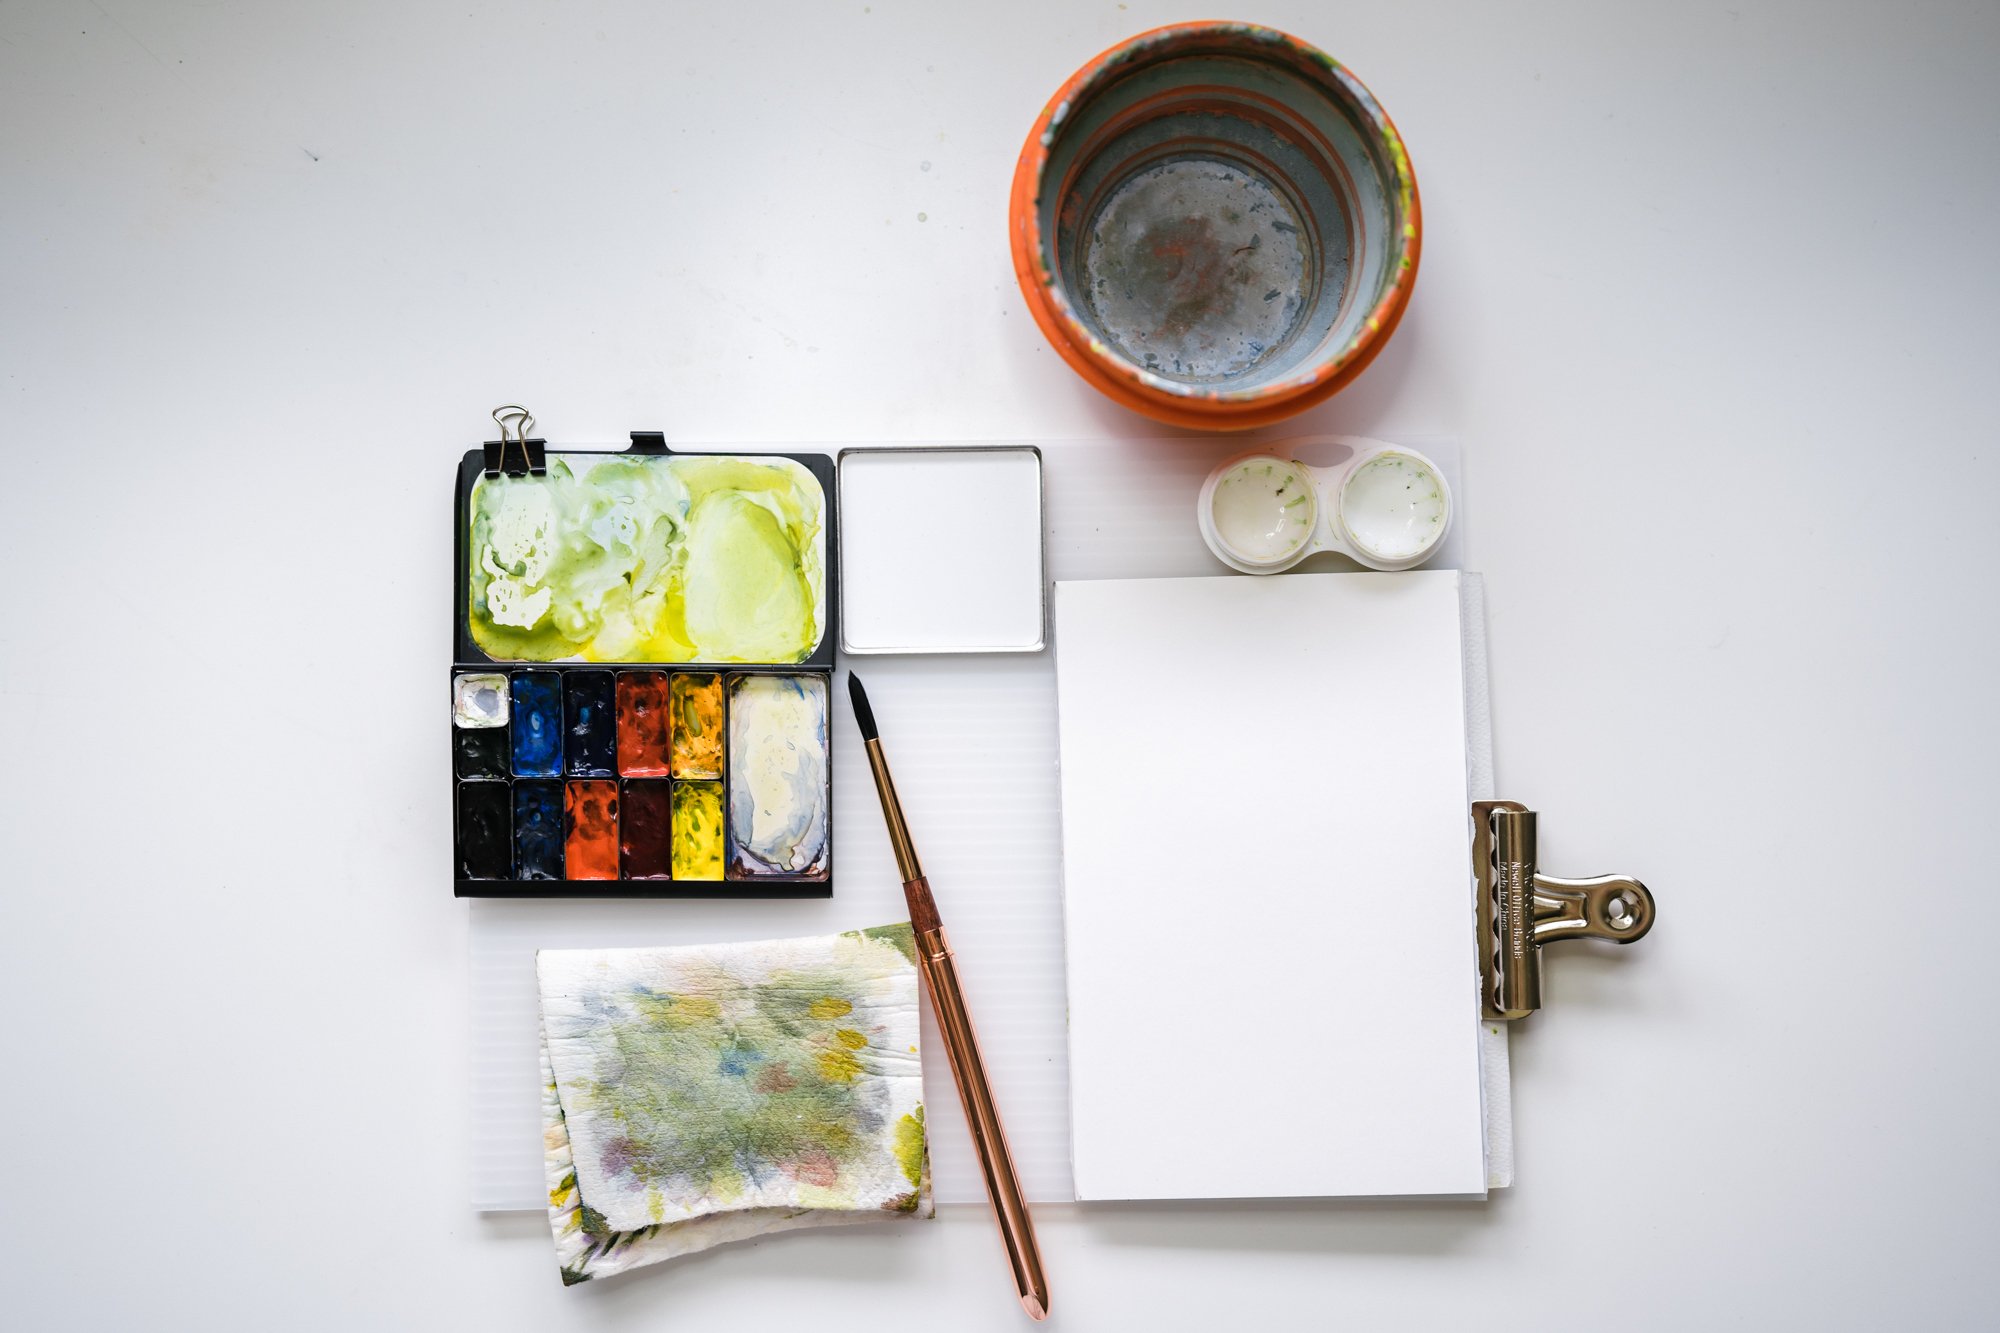
Super excited to share with you my watercolor setup I take out into the field. It’s small, but mighty! It’s super easy to grab it on the go when I head out for a hike or to go fishing with my husband. I keep it all in my yellow fanny pack. (full list of supplies at end)
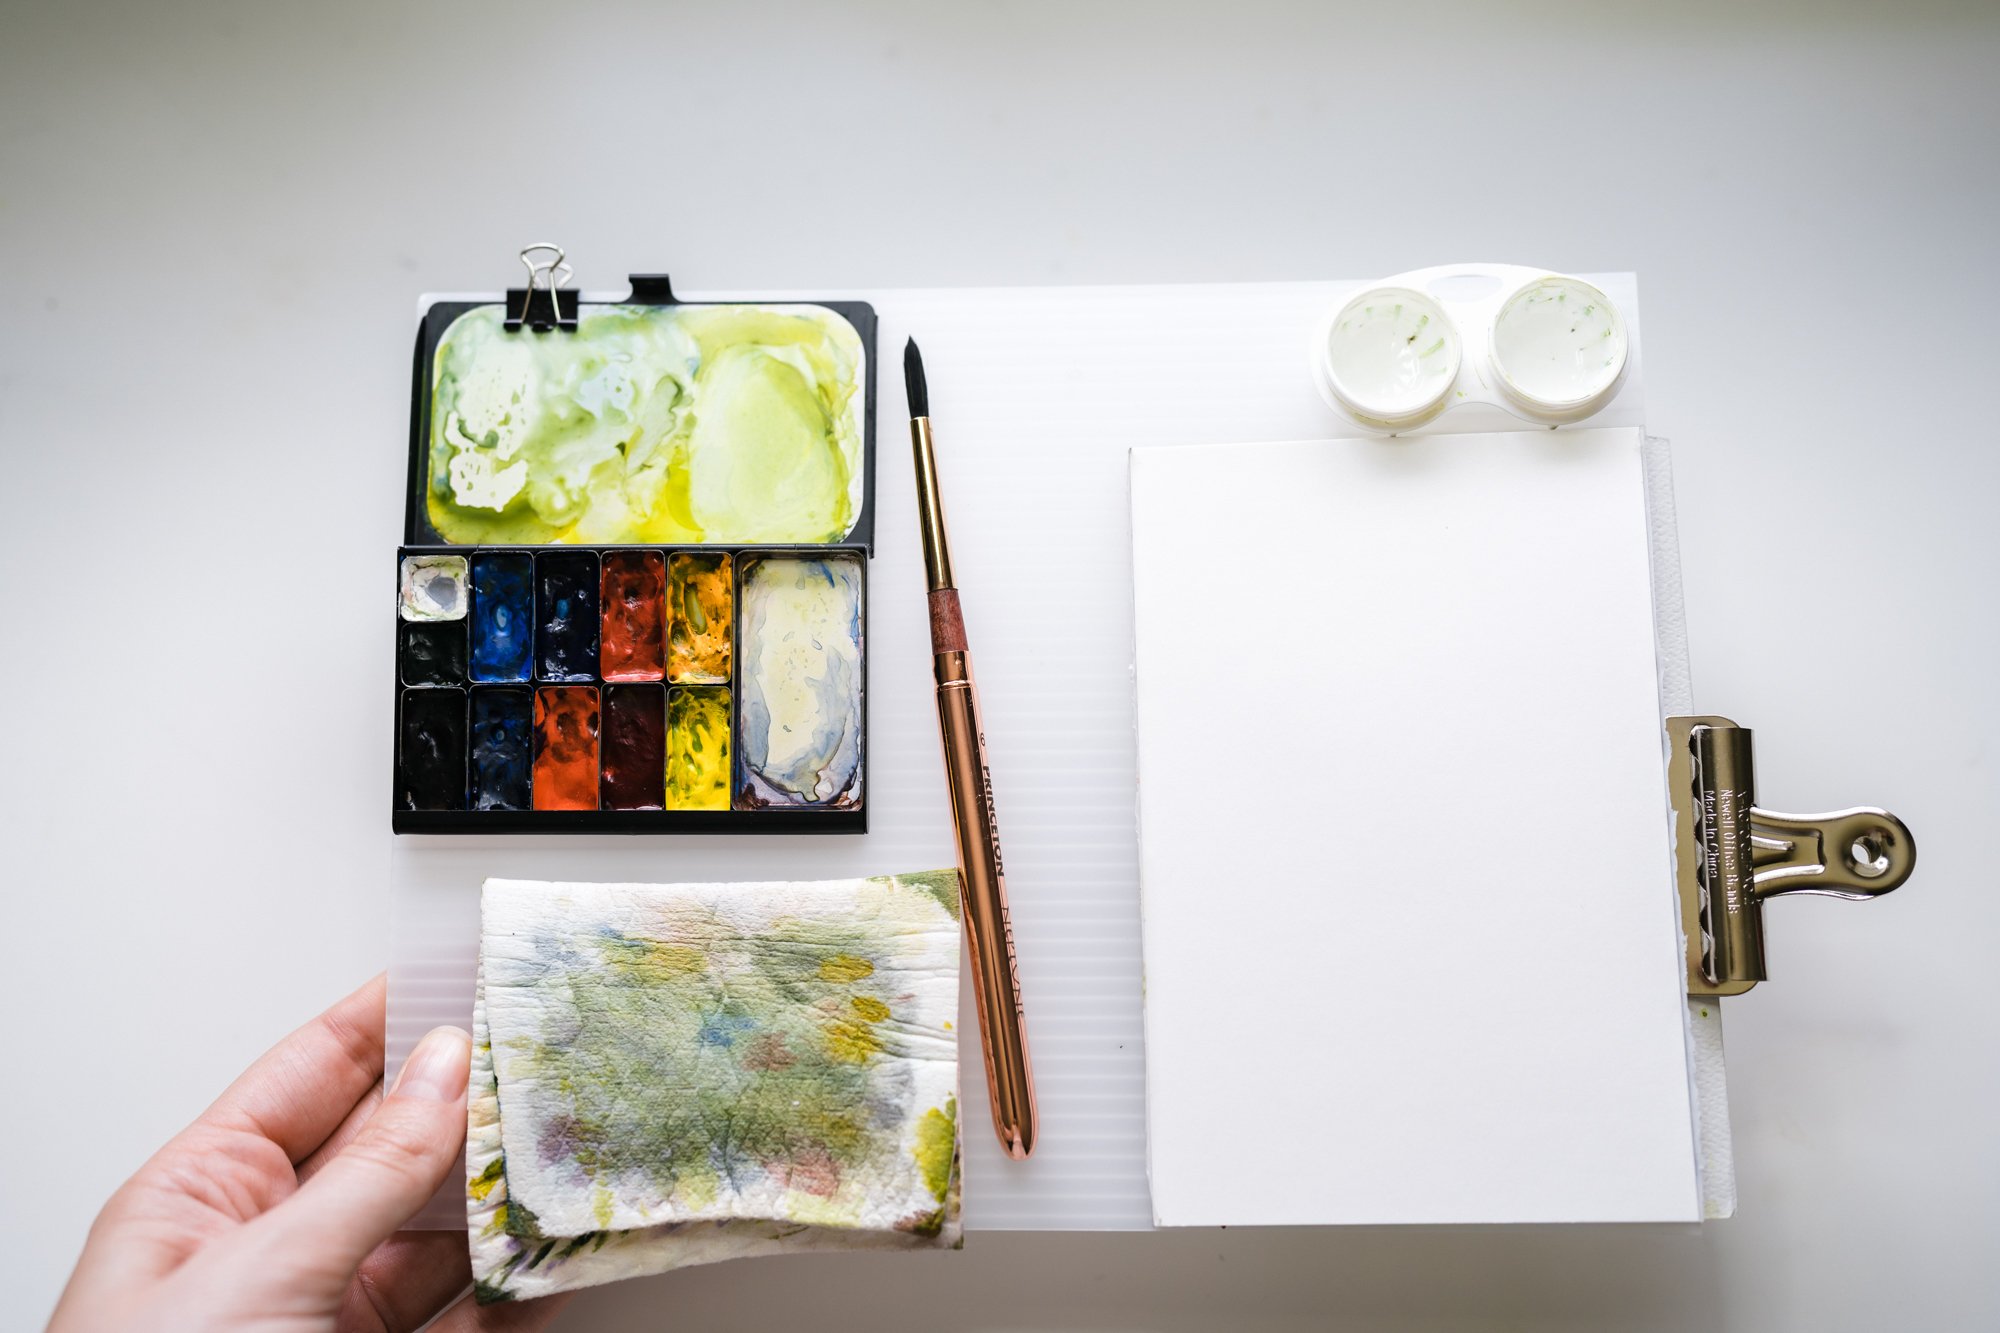
I like to have my setup on a plastic corrugated board. It’s lightweight and perfect to sit on my lap and keep everything all in one spot. I used to not have the board and it got messy and all over the place real fast. So now I keep it all together and sometimes I’ll add in my orange collapsable water cup (shown in photos below) if I need more water.
It’s a lightweight and easy to modify setup. I’ve changed a lot since I first started and I’m sure I’ll keep changing it up as I go out into the field. That’s the beauty of it, you do what works best for you! This is just a good starting off point! The main thing is to keep it simple, get outside, and enjoy nature while you capture your surroundings in your painting!!
Supplies (as of July 2022)
Art Toolkit palette + their pans
Watercolor paints to put in Art Toolkit - I use Daniel Smith watercolor tubes, but feel free to use less expensive paints too
Watercolor pad of paper of your choice - I use hot press because I like the smooth texture, compared to cold press which is more textured (which a lot of people like)
Watercolor travel paintbrush (or regular paintbrush) - I have a round 6 and a flat 4
Old contacts case to hold water (I also have an orange collapsable cup for extra water if needed)
Towel - I use a reusable towel that I cut in half
Pen, pencil, eraser
Clips of various sizes
Corrugated Plastic Board cut to smaller size
Ziplock baggie to hold extra paints
Small bag of your choice - I use a bumster bag (aka a fanny pack) and put it around my waist as I’m sitting in my chair
Chapstick + hair tie
Not shown: bug spray, sunscreen, extra layers of clothes depending on weather, foldable chair or sit pad


